Posts 9-11 DTO (id:#66506)
Bardia Perimeter, Libya
1941-01-03 (10 others)
JH 3: Bravest of Bardia (Internet)
CH119: Fortress at Bardia I (Operation Compass & Wavell)
CH120: Small Encounters (Operation Compass & Wavell)
CH121: A Test of Nerves (Operation Compass & Wavell)
CH122: Fortress at Bardia II (Operation Compass & Wavell)
AK 70: Ciao Time! (Afrikakorps - AK009 Reluctant Offensive)
AK 71: A Test of Nerves (Afrikakorps - AK009 Reluctant Offensive)
GA 2: Bardia Halt (Graziani's Advance)
GA 3: V.T. England (Graziani's Advance)
GA 5: A Close Call (Graziani's Advance)
Designer: Simon Spinetti and Andy Rogers
Starter kit scenario?: Deluxe scenario?:
Balance:
AustralianItalian
Overview:
The first contingent of Australian volunteers formed the 6th Division, 2nd Australian Imperial Force, and after many months of training in Egypt and Palestine were keen to get into the war. Up to four divisions of the Italian 10th Army were bottled up in the frontier fortress of Bardia, a small port town on the vital road along the Libyan coast. The Australians, supported by British armour, artillery and machine-gunners, were given the task of taking the fortress as their first action of the war. Battalions from two brigades made the main assault further to the northwest while 2/6th Battalion created a diversion on the southern perimeter based on the deep and steep Wadi Muatered which was lined with barbed wire and covered with machine guns in sangars between the defense posts. Two companies were ordered as part of the battalions Operational Order No. 1 to occupy the north bank of the wadi between Posts 7 and 11 by dawn.Attacker: Australian (Companies C and D, 2/6th Battalion, 17th Australian Infantry Brigade)
Defender: Italian (62° Division Fanteria "Marmarica")
5.5 turns
Players: 2 OBA: None Night: Yes| Unit Counts: |
| Squads: A:15.0 D:15.0 |
| AFVs: A:0 |
| AFVs: D:0 |
| Guns: A:0 D:0 |
| Misc Rules: | Night (E1), All Woods-Brush, NQ (A20.3), A: Cloaking (E1.4) |
| Map Board(s): |
| Overlays: | NONE |
Errata (source)
Players wanting to play this game/Request a match:
Scenario info
Last Played:
View all or balance report
| Action | Date |
|---|---|
| Guru Bob Added a playing | 2026-05-12 14:26:44 |
| Guru Bob Rated the scenario | 2026-05-12 14:26:12 |
| jgarlic79@gmail.com Added a playing | 2025-08-10 19:04:11 |
| gekko_66 Linked the scenario to ROAR | 2025-08-09 01:40:01 |
| Dispang12 Added a playing | 2024-05-30 23:18:38 |
| File | Description | User | Views |
|---|---|---|---|
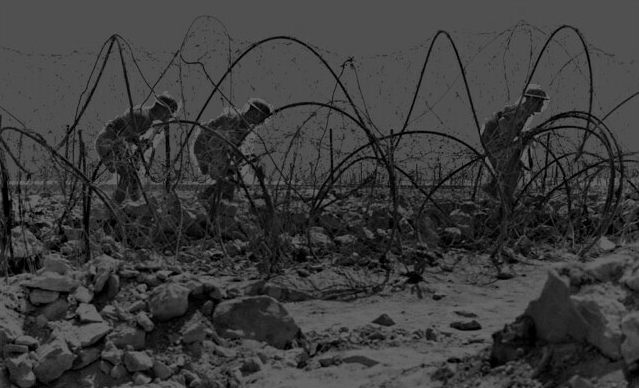
| (night brit wire.png) | Image | hoxson1 | 1134 |
| (night auss-ital.png) | Image | hoxson1 | 1148 |
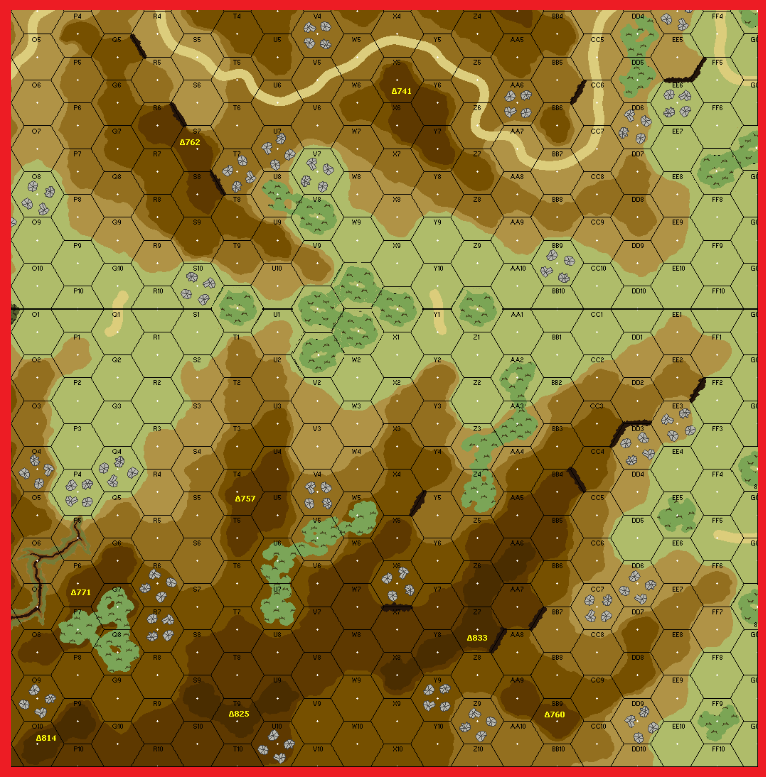
| (posts 9 11 map.png) | Map Image | hoxson1 | 1233 |
| Description | Uploaded by |
|---|
| Title | Author | Date |
|---|
| Description | Uploaded by |
|---|
Quick Map View
Location
Images

| Statistics: | ||
| Avg Rating: 6.90 | Votes: 10 | Views: | 0 |
| To-Play list count: | 0 | |
| Estimated Play time: | 5.7 hours | |
| Recorded Games: | 5 | |
| Archive recorded plays: | ||
| Australian | 3 | |
| Italian | 2 | |
| Drawn: | 0 | |
| ROAR Data: (as of today) Posts 9-11 [Confirmed] |
| [A] Australian | 1 |
| [D] Italian | 3 |